Showing posts with label tutorial. Show all posts

Monday, February 14, 2011

Valentine's Day Countdown: Homemade marshmallows


Even though hubby and I don't usually do much for each other on Valentine's Day, I just knew I had to make these marshmallows. Okay, well actually, the truth is that I had planned on making them for him for Christmas a year ago (so two Christmases ago) then again last Christmas, but it just didn't happen.

But, it seemed like it would make a good Valentine's gift...

Now, my hubby is a marshmallow fiend. I don't think anyone in the world loves marshmallows as much as him. And, I didn't even really think people even liked marshmallows before I met him. I mean, you use them for s'mores, maybe hot chocolate and that's it, right? But, nope, he can polish off an entire bag of Jetpuffs in one sitting.

So, I enlisted the help of my trusty assistants and got to work...

Homemade Marshmallows

Ingredients:

3 packets unflavored gelatin
1 C ice water, divided
1 1/2 C sugar
1 C light corn syrup
1/4 teaspoon kosher salt
1 teaspoon vanilla extract

1/4 C corn starch
1/4 C powdered sugar

Optional:
-- Add all flavorings and colorings in the last few minutes of beating.
For Cocoa Marshmallows: add in 3-4 tablespoons of unsweetened cocoa powder. If you make cocoa marshmallows, add a spoonful or two of cocoa powder to your cornstarch mixture as well.
For Peppermint Marshmallows: add in 1/2 teaspoon peppermint extract
For Colored Marshmallows: add food coloring in the last few minutes of beating (think colored fruit flavored marshmallows!)

9 x 13" pan
non stick spray


Directions:
Place the contents of the gelatin packets into the bowl of a stand mixer.
Add 1/2 C of the ice water.


Stir gently to combine and then set that bowl aside.

In a small saucepan combine: remaining 1/2 C water, corn syrup, granulated sugar, and salt. Stir mixture to combine and bring it to a boil. Reduce to a simmer and then clip a candy thermometer onto the pan.
The sugar mixture needs to remain on a simmer and come to a temperature of 245 degrees F.
This was taking a long time for me, so I increased the temperature to more of a slow boil, which got it there much faster. Just keep a close eye on it and the temp and stir occasionally.


While you're waiting for your mixture to reach the correct temp, you'll have some time to, say, put on a fun photo shoot with your pint-sized sous chef.


After the mixture reaches 245 degrees, remove from heat.
While your mixer runs on low speed, you need to slowly pour the sugar mixture into the bowl with the gelatin.
You may want to put the mixture into something with a pour spout, to make it easier to get in your mixer.


After you add the entire sugar mixture to the gelatin turn the beater speed up to med-high. Continue to whip for 12-15 minutes, adding the vanilla in the last few minutes of beating.
*If you plan to add flavoring/color, remember to do it in the last few minutes of beating.


Take this time to prepare your pan.

Combine the cornstarch and powdered sugar in a small bowl. Spray a 9 x 13" pan with non stick spray and coat the bottom and sides with the cornstarch mixture. Tap excess out and save it.

When your marshmallows are done beating the mixture should be thick and white, kind of like jarred marshmallow cream.

Using a spatula, coated in non-stick spray, scrape bowl into your prepared pan. You may have to spread it around a little, which is why you want your spatula sprayed, to make it even.


Let the pan sit at room temp for about an hour (to form a dry layer on the top) and sprinkle a couple spoonfuls of the corn starch mixture over the top. Cover with a sheet of plastic wrap and let it sit overnight.

When they're ready to cut, just pull the marshmallow sheet out of the pan.

Now, it's time to cut (this is a great project for the kiddos!)!
You can use cookie cutters to make fun shapes (we did hearts!) or just use your pizza cutter to cut into bite size squares. Make sure to coat your cutting implement frequently with the cornstarch mixture, because this stuff gets pretty sticky!


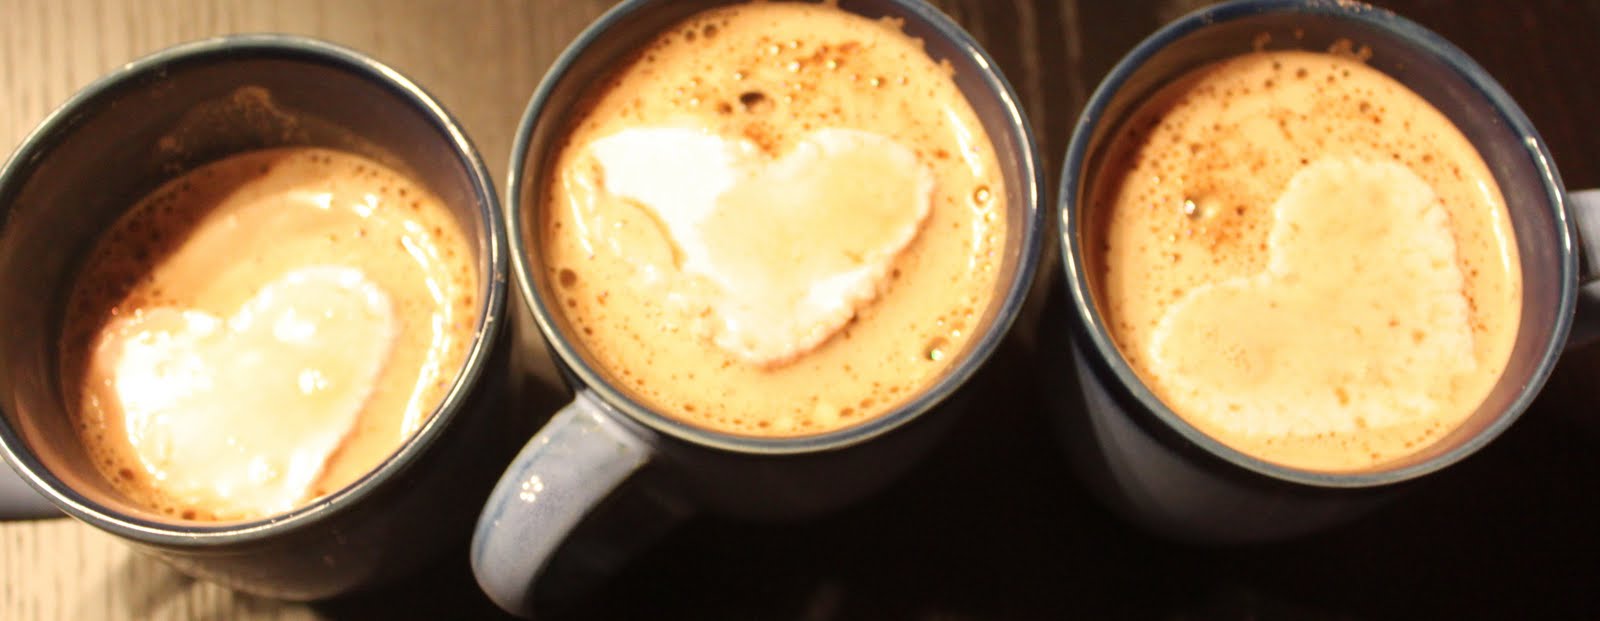
And, now for the fun part! You can, of course just start digging in or even prepare a nice mug of hot chocolate to plop them in. If you're giving them for gift you can prepare your packaging. We simply put ours in a cellophane bag tied with a handmade note for the hubby. You could really have fun with it, even coating them in chocolate...or how about putting them with a graham cracker and dipping the whole thing in chocolate! Yumm!

We presented them to my hubby tonight and he loved them! I had saved a few out, and we used those to put in hot chocolate (we added peppermint to ours, so they added a nice extra touch to the hot chocolate) and they were delicious!


So, I know Valentine's Day is officially over, but that shouldn't stop you from making this for the next holiday, birthday or just random Thursday (trust me, that are that good!)

And, if you do make some, link back to me, so we can see what you came up with! :)

Linking up here:
all crafts Handmade Projects & Parties ~ Add Yours! handmade projects

Photobucket
NightOwlCrafting

Monday, March 1, 2010

Valentine Pinwheels


So, I haven't been a very attentive blogger recently, but I have been really busy with lots of various things... I know, not a very good excuse, but I will appease you by showing you these adorable pinwheels Z and I made for Valentines.
So, we could have just bought those cheap-o cardboard Valentines from the store, but those are so not us. LOL! Plus, Z had been begging for a craft day, so I thought we could kill two birds with one stone! My original idea was to get some cute Valentines scrapbook paper, but there was nary a paper with hearts to be found at the store. So, instead, I grabbed some various papers I thought were cute and pinwheel-ish.
Z and I really enjoyed making these together (even if he did poop out on my after the first few...) and our recipients seemed to really enjoy them as well. :0)
This is my first attempt at a tutorial, and please keep in mind that I was doing the main crafting/directions to Z plus taking the pictures. It wasn't easy, but I think the idea comes through pretty well. :0)

Step 1: Gather materials
You will need:
Pencil (for tracing pattern)
Scissors
Glue
Patterned paper (if you can find double-sided, that would be ideal; otherwise you will just have to glue your paper back-to-back)
Pushpins (in colors to match your paper)
Pencils ('stems' for the pinwheels)

Step 2: Trace pattern onto your paper (I found pattern here) and cut out your squares


*Skip this if you have double sided paper
Step 3: Glue paper back to back


Step 4: Hold pattern on your paper and use it as a guide to cut slits in the corners (tip: have two different patterns; one just for tracing and one just for cutting slits)


Step 5: Use a pushpin to poke holes in corners of your square (every other 'flap') and one in the middle of your square


Step 6: Start bringing flaps together by pushing pushpin through your holes
I found it easiest to go in reverse order and push the pushpin in the last flap first and so on...


Step 6: Push pin through eraser of pencil...and that's it!


We also added some little notes that we wrapped around each pencil. I just mounted a piece of white paper that I had printed (using Print Shop) with some cute little sayings (“You make my head spin” and “You make my heart whirl”) on one side and “Happy Valentine's Day on the other side onto a matching piece of patterned paper.


They turned out very cute and like I said, were really fun to make. I think it's a wonderful alternative to buying pre-made Valentine's, but could also be used for any other occasion (stick a couple in Easter baskets, make some patriotic pinwheels for 4th of July, or have a pinwheel themed birthday party!). Best of all, you have a fun, creative activity to do with your kids... I really can't say enough about getting hands-on and crafting with your kids!

Sunday, September 13, 2009

Rainy day fun...

We had gotten so used to all the beautiful sunny weather around here, that a rainy day came as bit of a shock. After we got over our depression, Z and I decided to turn it into a fun craft day!
We had been waiting for just the right time to try our hand at making some crayons, using a dinosaur cake mold. We were both very excited (yay, the boy loves to craft as much as his mama!) and really, the rainy weather, was just the excuse we needed. We gathered our supplies and got to work...

Step 1: Place non-craft participating child in high chair and bribe with copious amounts of Puffs

Step 2: Unwrap and break (in half) pretty crayons (if you're not quite as anal as me, just use your kid's already beat-up crayons. I bought the box of Crayola, because I thought they would melt better, or something. Really, I just have some control issues)


Step 3: Mutter, grumble and swear (to yourself) about the amount of time it's taking to unwrap the damn crayons.
*Here are some things I discovered: Crayola crayons have really tough paper to get off and the darker colors are even tougher (not scientific, I know, but trust me, after doing a bazillion of these, I know)

Step 4: Realize that step 2 should have been putting the crayons in the freezer, because crayons are made of wax, and wax shrinks when frozen...thus crayons shrink making the paper easier to get off! Now, if only I had realized this before I only had three crayons left.

Step 5: Give up your crazy dream of having only Crayola crayons and send your kid for the crayon box to use whatever ghetto crayons you can find... *sigh*

So, after what seemed like hours of doing this, we finally had enough crayons to fill our mold. Well, all but one anyway; but since Avalee was giving us this crazy, “What are you guys doing?”, “Get me out of this stinkin' chair!” and “What ARE you guys doing??” look, we had to make time.


After filling the molds (we did multiple colors for each dino), we popped the pan in a pre-heated (350) oven and cooked for about twenty minutes (we tried ten, but there were still some chunks, so we decided on another ten. Hmmm...I bet if only high-quality Crayola crayons were used, ten min would have been fine).

He's hiding the one spot we didn't get filled...LOL


What they look like after they are melted


After we took them out, we put them in the freezer for about ten minutes, then popped them out of the mold. The result was some pretty awesome dinosaur crayons! So awesome, that you want to take like a hundred pictures of them while your kid keeps bugging you to “pleeeeze” let him just use them already.


Roooar!!


My camo crayon...pretty proud of that one! ;0)


So, we unfolded a giant piece of butcher paper on the kitchen floor and Z picked out his favorite crayon. He was way excited to discover it made two colors at once started making giant swirls all over, while giggling and saying “Look, Mommy!”...and I then realized it was all worth it. :0)


Related Posts with Thumbnails

Guestbook

 
Pin It button on image hover